

WordPress is a popular and powerful platform for creating websites and blogs. WordPress supports various types of content, such as text, images, audio, video, and more. But did you know that you can also create 3D scenes in WordPress? 3D scenes are interactive and immersive graphics that can enhance the visual appeal and functionality of your website. In this article, we will show you how to create a simple 3D scene in WordPress using a plugin called WP-VR-view.
What is WP-VR-view?
WP-VR-view is a WordPress plugin that allows you to embed 3D scenes and 360-degree images and videos into your WordPress posts and pages. WP-VR-view uses a JavaScript library called Three.js, which simplifies the creation and manipulation of 3D objects in a web browser. WP-VR-view also supports VR devices, such as Google Cardboard and Oculus Rift, which can provide a more immersive and realistic experience for your users.
How to Install WP-VR-view?
To install WP-VR-view, follow these steps:
- Log in to your WordPress dashboard and go to Plugins > Add New.
- Search for WP-VR-view and click Install Now.
- After the installation is complete, click Activate.
- Go to Settings > WP-VR-view and adjust the settings according to your preferences.
How to Create a 3D Scene in WordPress?
To create a 3D scene in WordPress, follow these steps:
- Create a new post or page, or edit an existing one.
- Click the Add WP-VR-view button above the editor toolbar.
- A popup window will appear, where you can choose the type of content you want to embed: 3D Scene, 360 Image, or 360 Video.
- For this example, we will choose 3D Scene and click Next.
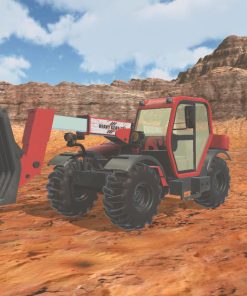
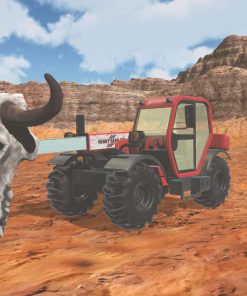
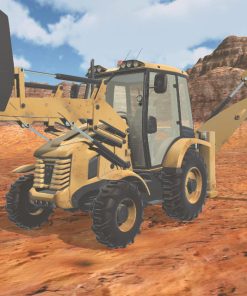
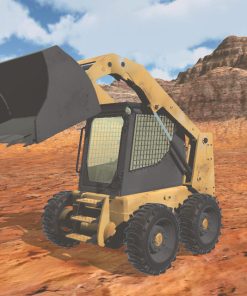
- Another popup window will appear, where you can choose the 3D model you want to use. You can either upload your own 3D model in OBJ or GLTF format, or choose from the predefined models provided by the plugin.
- For this example, we will choose the Cube model and click Next.
- Another popup window will appear, where you can customize the appearance and behavior of your 3D scene. You can change the background color, the camera position, the rotation speed, the animation, and more.
- For this example, we will leave the default settings and click Next.
- The final popup window will show you the shortcode that you need to copy and paste into your post or page. The shortcode will look something like this:
[wpvr id="1"]
- Click Copy and close the popup window.
- Paste the shortcode into your post or page where you want the 3D scene to appear.
- Save or publish your post or page and view it on the front-end.
How to Interact with the 3D Scene?
To interact with the 3D scene, you can use your mouse, keyboard, touch screen, or VR device. Here are some basic controls:
- Mouse: You can drag the mouse to rotate the 3D scene, scroll the mouse wheel to zoom in and out, and click the mouse to select an object.
- Keyboard: You can use the arrow keys to move the camera around the 3D scene, and the spacebar to toggle the animation on and off.
- Touch screen: You can swipe the screen to rotate the 3D scene, pinch the screen to zoom in and out, and tap the screen to select an object.
- VR device: You can use the VR device to look around the 3D scene, and the controller to select an object.
Conclusion
In this article, we have shown you how to create a simple 3D scene in WordPress using a plugin called WP-VR-view. 3D scenes can be a great way to add some interactivity and creativity to your website. You can use 3D scenes to showcase your products, services, projects, or anything else you want. We hope this article has inspired you to explore more possibilities and applications of 3D scenes in WordPress.
 Doing tasks


Your article helped me a lot, is there any more related content? Thanks!